How to do an oil change & air filter on 2011 Suzuki Gsxr 600
What
you’ll need:
·
4 quarts of motorcycle oil 10w40 (I
got mine from Walmart for $15 for all 4 bottles - yes! Must be motorcycle oil
not car oil),
·
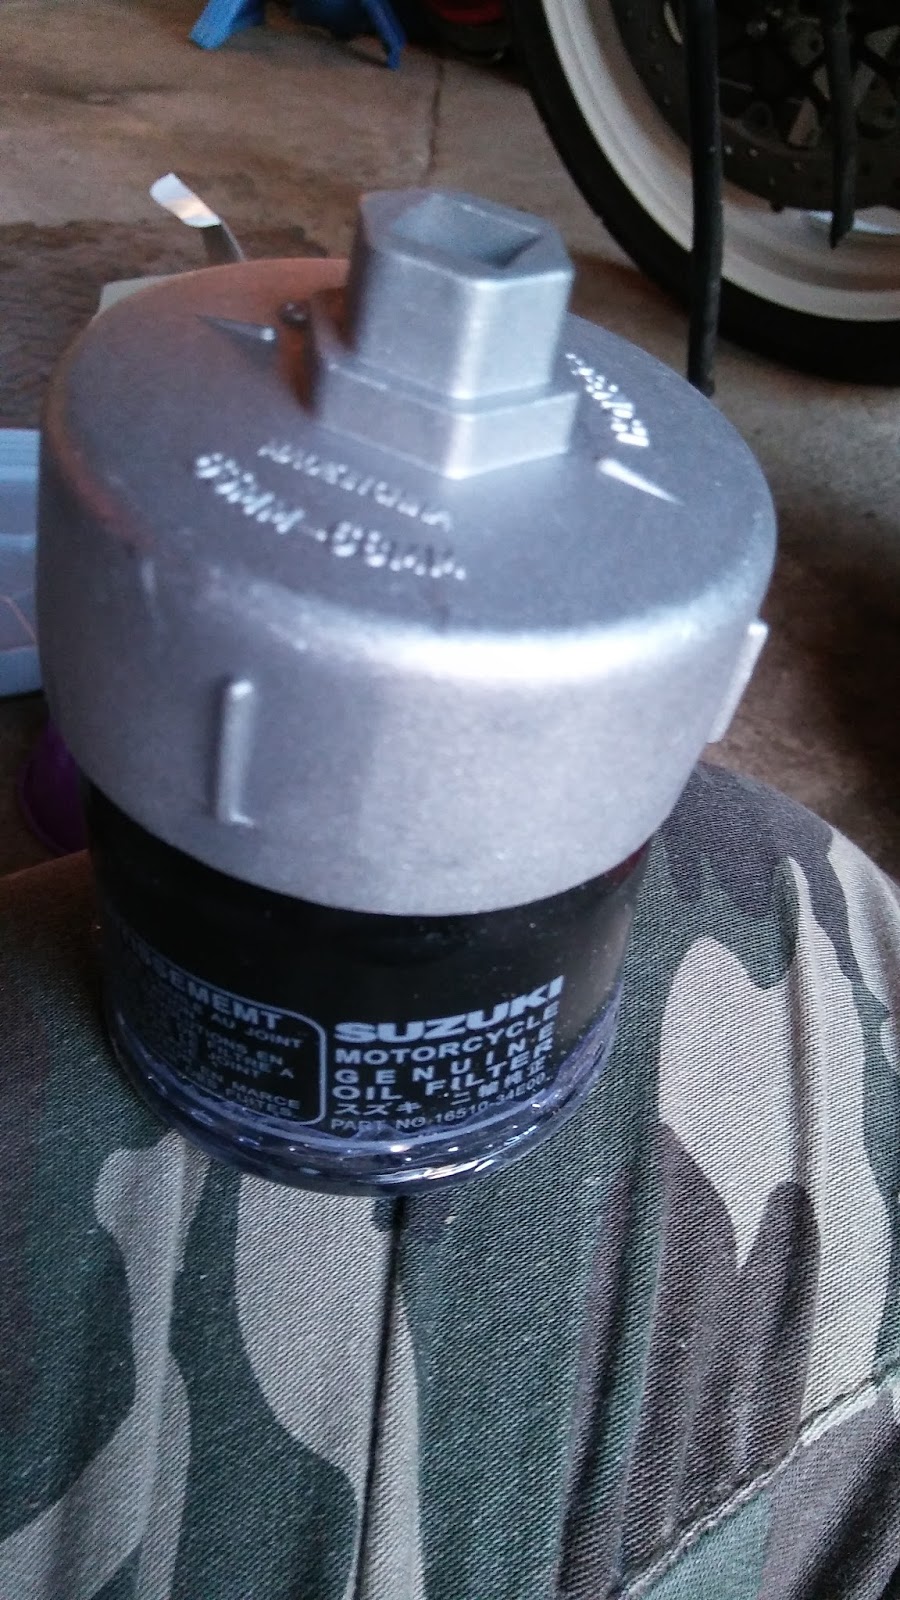
oil filter for your specific bike (I
got mine off of ebay for $12). I got the brand “suzuki”. I’m sure the other
brands are fine but for $12 I felt like splurging lol (ebay link: http://www.ebay.com/sch/i.html?_from=R40&_trksid=p2050601.m570.l1313.TR0.TRC0.H0.X2011+gsxr+600+oil+filte.TRS0&_nkw=2011+gsxr+600+oil+filter&_sacat=0
·
oil pan (to catch oil)
·
small bag of cat litter (to put on
spilled oil/save your garage floor and you don’t slip on it when moving your
bike)
·
oil filter wrench (unless you’re as
strong as Arnold Schwartz-) I used the 65mm-68mm sized one. See ebay link: http://www.ebay.com/sch/i.html?_odkw=oil+filter+wrench&_sop=15&LH_BIN=1&_osacat=0&_from=R40&_trksid=p2045573.m570.l1313.TR3.TRC2.A0.H0.Xoil+filter+wrench+65m.TRS0&_nkw=oil+filter+wrench+65mm&_sacat=0
·
17mm socket & socket wrench (to
get that stubborn oil plug/bolt off)
·
allen key (to remove fairings)
·
Rags (at least 3) & bottle of water/water access
·
Funnel
·
rear bike stand (optional but
helpful)
·
Gloves. Everyone says to use them,
but I need to feel things so I only used it when removing oil filter because
those headers are hot!! If you warmed up your bike prior to oil change.
·
Air filter for your specific bike (I
got mine off of ebay for $11. No I’m not spending $60 on a washable one. I’m
quite fine with my $12 one) ebay link: http://www.ebay.com/sch/i.html?_from=R40&_trksid=p2050601.m570.l1313.TR0.TRC0.H0.X2011+gsxr+600+oil+filte.TRS0&_nkw=2011+gsxr+600+oil+filter&_sacat=0
Directions: How to do an oil change
on 2011 Suzuki Gsxr 600 with 11,000 miles. I know (wayyy over due).

1.
-Put rear stand/tire up
2.
-Take left bottom fairing off ( 2top
left small allen key nuts,1middle &1bottom large allen key nuts, 3 rubber
plugs -under fairing at the front)
3.
-heat bike up to 127 degrees (Note be
careful- pipe near oil filter will be very hot)
4.
-Unscrew oil tank on right side of
bike. Don’t lose screw.
5.
-put oil pan under bike beneath and
mostly in front of oil plug/bolt (not oil filter yet)

6.
-With socket wrench 17mm attach to
oil plug/bolt and remove oil plug. Now it will squirt out forward like someone
throwing up. Its going to get messy. Have cat litter nearby to catch spilled
oil and save your garage floor. Let it drain. Doesn’t take long.
7.
-Then attach oil filter wrench to
old oil filter currently on the bike. Add the socket wrench (no attachments) to
back of oil filter wrench and turn left to unscrew oil filter. Again, its
coming out like a waterfall so make sure you have that oil pan directly
underneath it. Laying down plastic garbage bag or Dollar Tree drop cloth under
bike probably in hindsight would’ve been a good idea....and let drain. You’ll
take this old oil to AutoZone for disposal after you're done.
8.
-wipe down the pipe/your headers
because i know some oil got on it. Very rarely it doesn’t get on it. So i
damped a clean rag with water and wiped repeatedly the oil off the headers.
Save this damp rag you’ll need it to wipe down the oil tank on the other
side.


9.
-open new motor oil and pour a
little in the new oil filter and with your finger rub ne oil around the brim
of the new oil filter. Saturate with your finger like you rubbing chap stick
on. Any oil that spills on ground reminder - pour cat litter on it.
10. -Get a dirty disposable rag ready. once oil finished
draining remove pan and switch with old dirty rag as little bit of oil will
still be dripping when you remove the pan. Close the pan top so you don’t
accidently knock it over and spill oil everywhere. Takes two seconds .. Go
ahead. Put the pan to the side. You’ll dispose of oil at nearby AutoZone, gas
station or recycling center (save new oil container to put the old dirty oil
in)
11. -Okay time to put new oil filter on. I tried with oil wrench
but it was easier to put on by hand then tighten with oil wrench.

12. -You may have to literally get on your back on the ground
(where you been all this time) and screw the new oil filter into place. Once it
is on tighten with oil wrench. Don’t over tighten because you’ll be cursing
yourself out next time you must do an oil change and can’t get it off.
-
put oil plug/bolt back on. Screw on
by hand then tighten with socket wrench 17mm
13. -go to right side of the bike. Unscrew oil tank, put funnel
in it and Slowly pour the opened bottle you used to lubricate the new
filter then add two bottles on top of that. Rarely you need half of 4th bottle
unless you were stupid and completely had no oil in your tank.
14. -Since it is on a rear stand the bike should be balanced. If
not, then balance the bike and look at oil glass. Some bikes need the entire
4th oil bottle or just half. It should look much cleaner and fill up. It’s okay
if there is a little space at the top of oil window. But not too much.
15. -Screw cap back onto oil tank and wipe the tank down.
16. -clean up your area. You can attach fairings before or after
5-minute Ride. -Let bike run for 5minutes or go for a slow/medium speed ride
for 5minutes. Advise to go for ride if you can. Then recheck oil and make
sure levels didn’t drop off where you would need more oil.

17. -when u recheck oil glass make sure bike is upright and
balanced... you should see oil moving. You’re all set!
Shouldn’t
take you more than an hour. And that includes a stuck bolt, watching YouTube
videos to ensure you’re doing it right, reading these notes and riding time at
the end to warm up oil. So technically it should take you 30-40 minutes. Easy
breezy. Once you so it you’ll be like why did i wait so long to do this. Its
super messy but worth it.
--
This is a list on compatible filters for your bike.
* AMSOil SMF 109 * Bike Master 314-0025 * Champion PH7016 * Cycle Power 314-1919 * Emgo 10-55662 * Emgo 10-55660 * Fram PH6018 * Hi-Flo HF138 * J.C.Whitney ZX063166P * K&N 138
* NAPA 1359 / WIX 51359 * Parts Unlimited * Per-Form J-509 * ProPart 01-0029 * Purolator ML16818 * STP SMO-18 * Suzuki 16510-03G00-X07 * VESRAH vsf-3009
***************************************
AIR FILTER CHANGE
Okay, so you might
as well change your air filter if you're doing your oil change. It's just
another 30 minutes. If you're decent with a socket wrench and screw driver then
this will be less than 30 minutes.
What you’ll need:
·
Air filter specific to your bike
(mine was from ebay for $14)
·
10mm Socket and socket wrench that
fits the 10mm. I had a socket wrench and it didn’t fit the 10mm socket and
guess who had to run to home depot before they close just to loosen 3 little bolts
smh). So check your tools before you get started and make sure you have everything.
The socket wrench that fit the 10mm cost me $15 at home depot. But so worth getting
it over with. Don’t buy cheap socket wrench because these are tools for life,
you don’t buy them every year.
·
Philip Screw driver (the star
looking one) Get a screw driver with a long neck (extender if possible because
the screws are in awkward places in the middle and can’t reach with tiny
screwdriver.
·
Tank holder – well I used a car snow
brush – handle with bristle on one end that cleans the snow off. A regular size
one fit perfectly between tank and handlebar.
Directions:
How to do an air filter change on 2011 Suzuki Gsxr 600 with 11,000 miles. I
know (wayyy over due).
1.
Remove your seat (use allen key and
remove bolt on each side of bike -near the seat). Once remove you’ll be able to
take the seat off and see the battery. see youtube link https://youtu.be/7e1EYTfr6p8
2.
Between your handle bar and fuel
tank are two bolts. Remove them so you’ll be able to lift the tank and put the
snow brush in between to prop tank up. How to take tank off see youtube video link https://youtu.be/h1fMrRQvGHM

3.
Once tank is up, use a socket wrench
on the three bolts at the top, then use a Philips screwdriver to take all those
screws out in the middle (2) and all around the black air filter cover (there’s
a lot of them). You’ll know if you miss one because the air filter won’t open.

4.
Once you get all the screws out and
put them in a safe place (I put them in my pocket), you ‘ll be looking at the
air filter (backwards). Take a picture! So this way you’ll know exactly how to
put the new air filter back in – well that’s why I did because I surely put the
new air filter in wrong until I looked at the pic.
5.
Next, I took a flathead screwdriver
and pryed it at the top in between filter and bike and gently lifted it. Air
filter propped back out easily.
6.
Do not get dust anywhere else in
bike!!
7.
Move the dirty air filter to the
side.

8.
Look inside compartment where the
air filter is, if there are any bugs, leaves, debris, etc then remove it by
hand. Shouldn’t be much, but I had couple big piece debris like leaves.
9.
Take your new air filter out the bag
and the part that looks like cotton is going to be face down. It fits snuggly
back in and all done.

10.
Close up, don’t lose any
screws!! Screw everything back down and
pat yourself on the back for prolonging your bike life!
All done!
This youtube video got me through
the air filter installation. Great one!
https://youtu.be/6EU6hhLUbl8
https://youtu.be/6EU6hhLUbl8

